Using DYMO® XTL™ Label Makers with LinkWare Live
How it works:
DYMO® ID software connects to your LinkWare Live Organization and the User selects the Project from which to import the Cable ID Set(s)
Printing can be done from DYMO® ID software or from the DYMO® XTL™ Label Maker (if the ID Sets are transferred to the label maker).
Use the USB cable that came with the DYMO® XTL™ Label Maker to connect it to your PC.
Make sure the label maker powered on.
This example describes the steps for printing the labels from the DYMO® ID software.
Step 1: Configure Project in LinkWare Live, including
- Test Setup
- Test Configuration
- Cable ID Set(s)
The Project Status needs to be set as Active.
Step 2: Install DYMO® ID software (v1.3 or later) loaded on PC
http://www.dymo.com/en-US/xtl-300 (check under the Support tab)
Step 3: Use the USB cable that came with the DYMO® XTL™ Label Maker to connect it to your PC.
Make sure the label maker powered on.
Step 4: Open DYMO® ID software and select a Label Application.
Cable Wrap was chosen for this example.
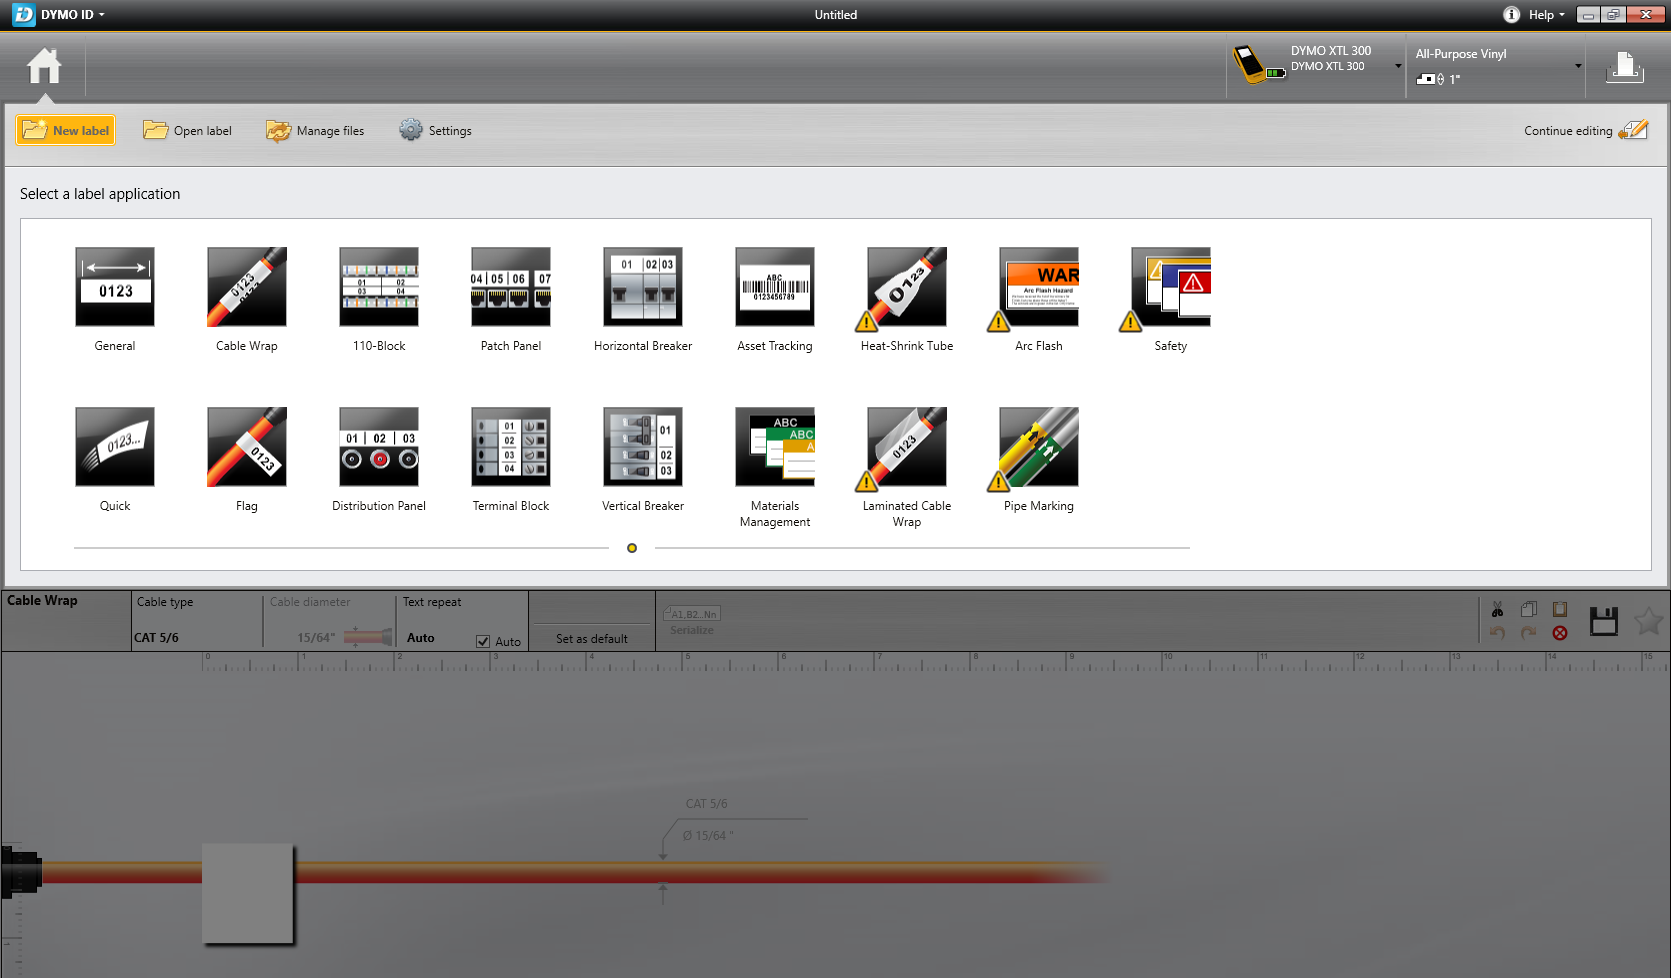
Click the Import button in the lower left part of the interface.
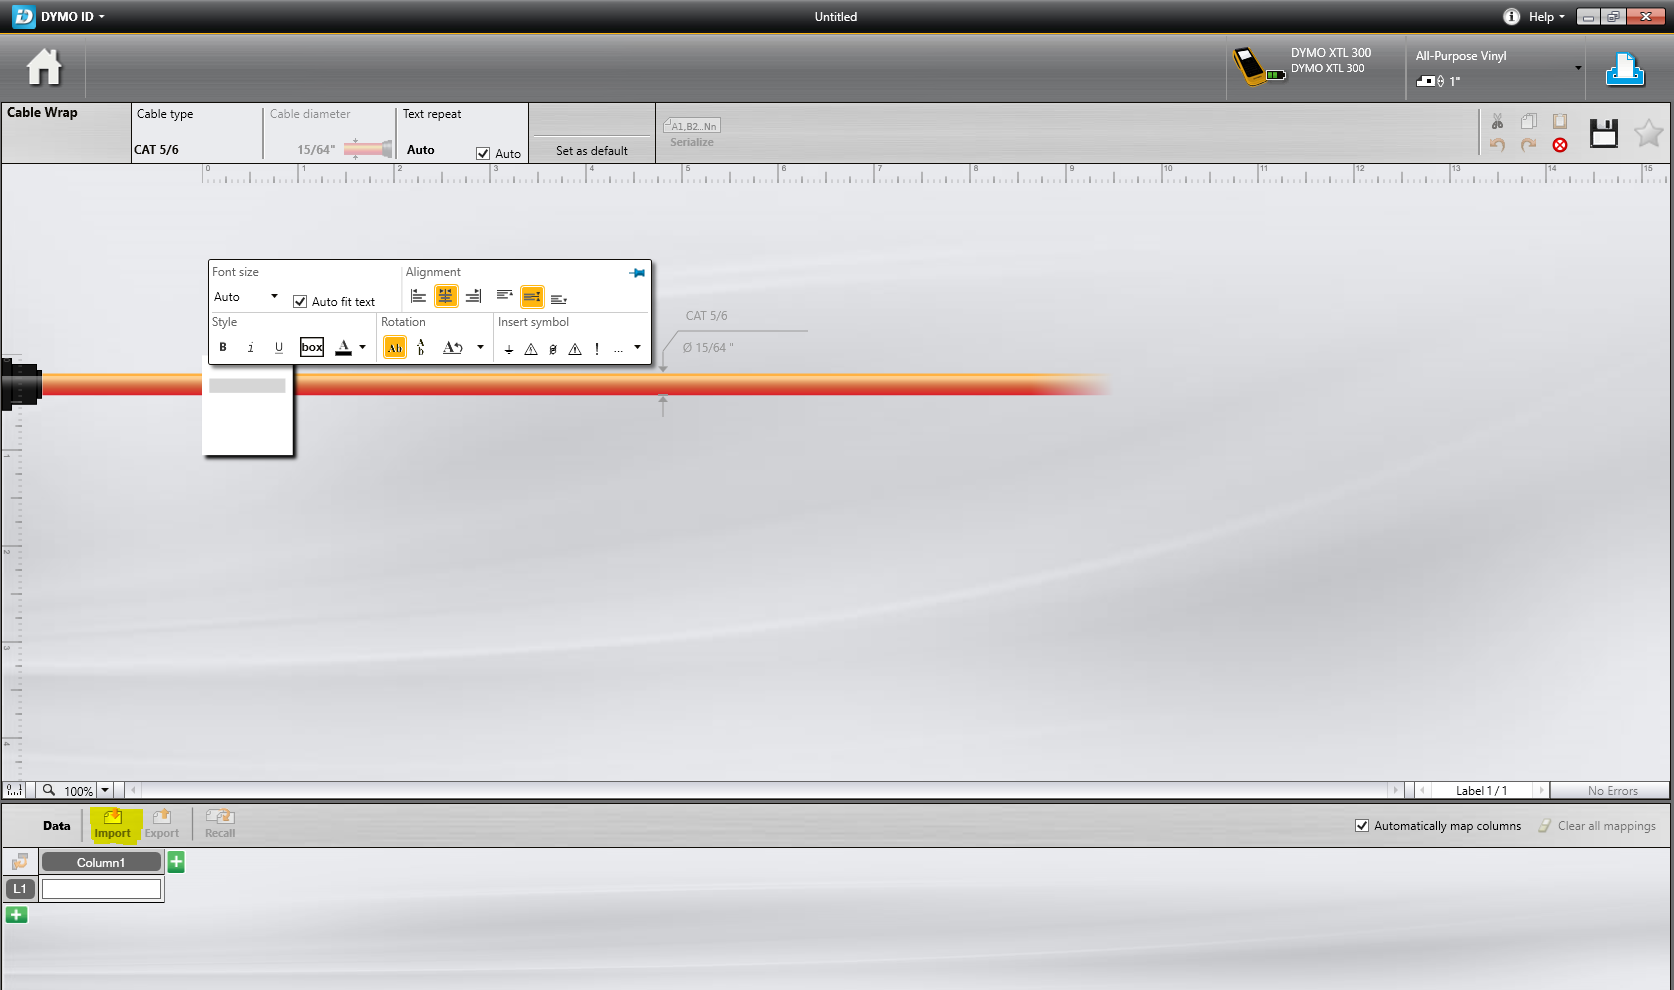
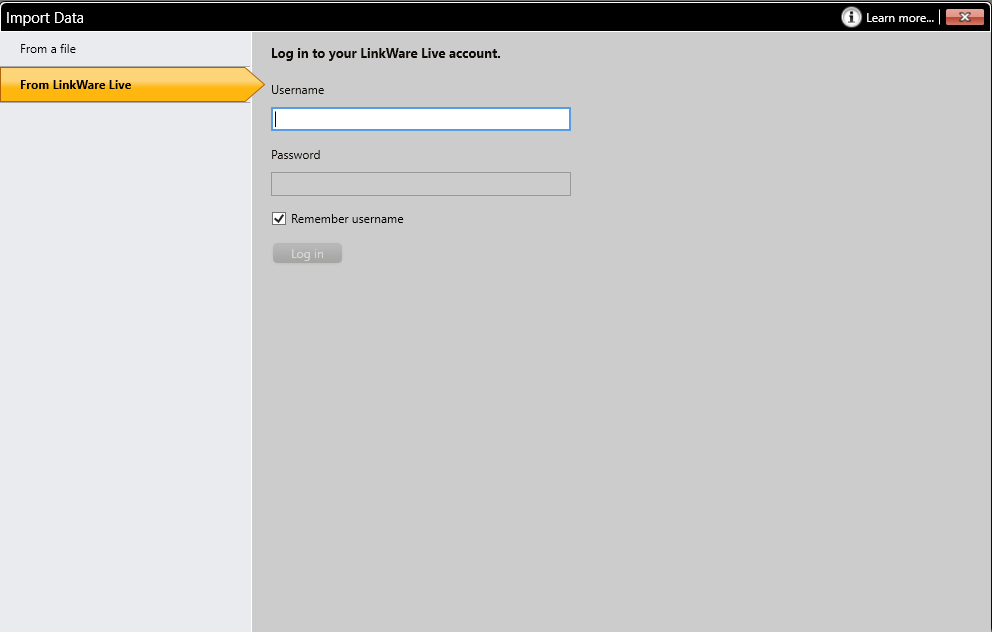
This presents the Import Data screen.
Choose From LinkWare Live and enter your login credentials.
Click Log in.
Choose your LinkWare Live Organization in the top right, and your Active Projects will be populated in the left part of the interface. This window is limited to 30 projects. If you have more than 30 Active projects in your LinkWare Live Organization, you may need to set some of them to Archive in Project Settings. You could also append the Project name with "A" in the beginning, since the DYMO® ID software takes the first 30 Active projects, sorted alphabetically.
If you do not see any cable ID sets available when you select a test configuration within a project, go back and review the project in LinkWare Live to make sure there are Cable ID sets present. If you make changes, you may need to refresh LinkWare Live and/or Log out and Log in again to your LinkWare Live Organization from within the DYMO® ID software Import Data screen.

When you click Import on the window above, make sure that Automatically Map Columns is checked. This will load your cable ID list into the memory buffer.

Step 5: Print the Labels.
Printing is controlled from the DYMO® ID software interface.
To Print, click the Printer icon in the top right of the interface.
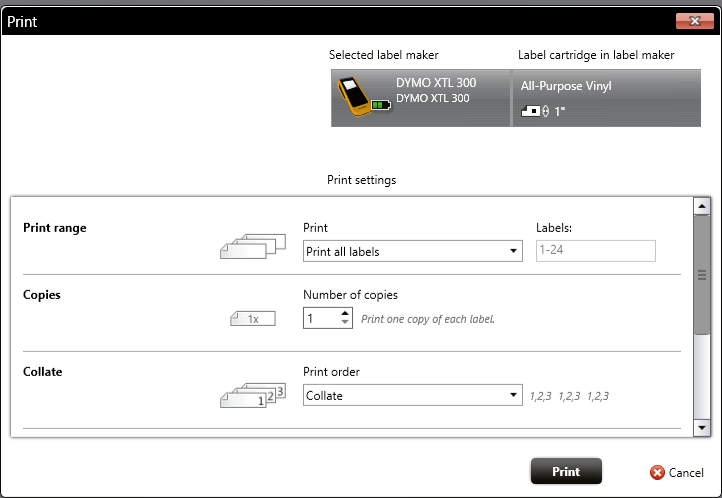
The Print range settings allow you to select
- Print all labels
- Print current Label
- Print range of labels
If you choose Print all labels or Print range of labels, the DYMO® XTL™ label maker will print one label at a time and the DYMO® ID software will prompt you to use the cutter on the device to cut the label, then click Continue Printing in the DYMO® ID software.
If you see a red X in the Print dialog box by the Selected label maker, make sure the DYMO® XTL™ Label Maker is powered on, and try again.
Here are some additional resources:
Importing Data from LinkWare Live to DYMO® ID
DYMO XTL Fluke Networks Integration Flyer
DYMO provides support for the DYMO® ID software and DYMO® XTL™ label maker.
http://www.dymo.com/en-US/online-support/online-support-contact-us
Fluke Networks provides support for LinkWare Live.